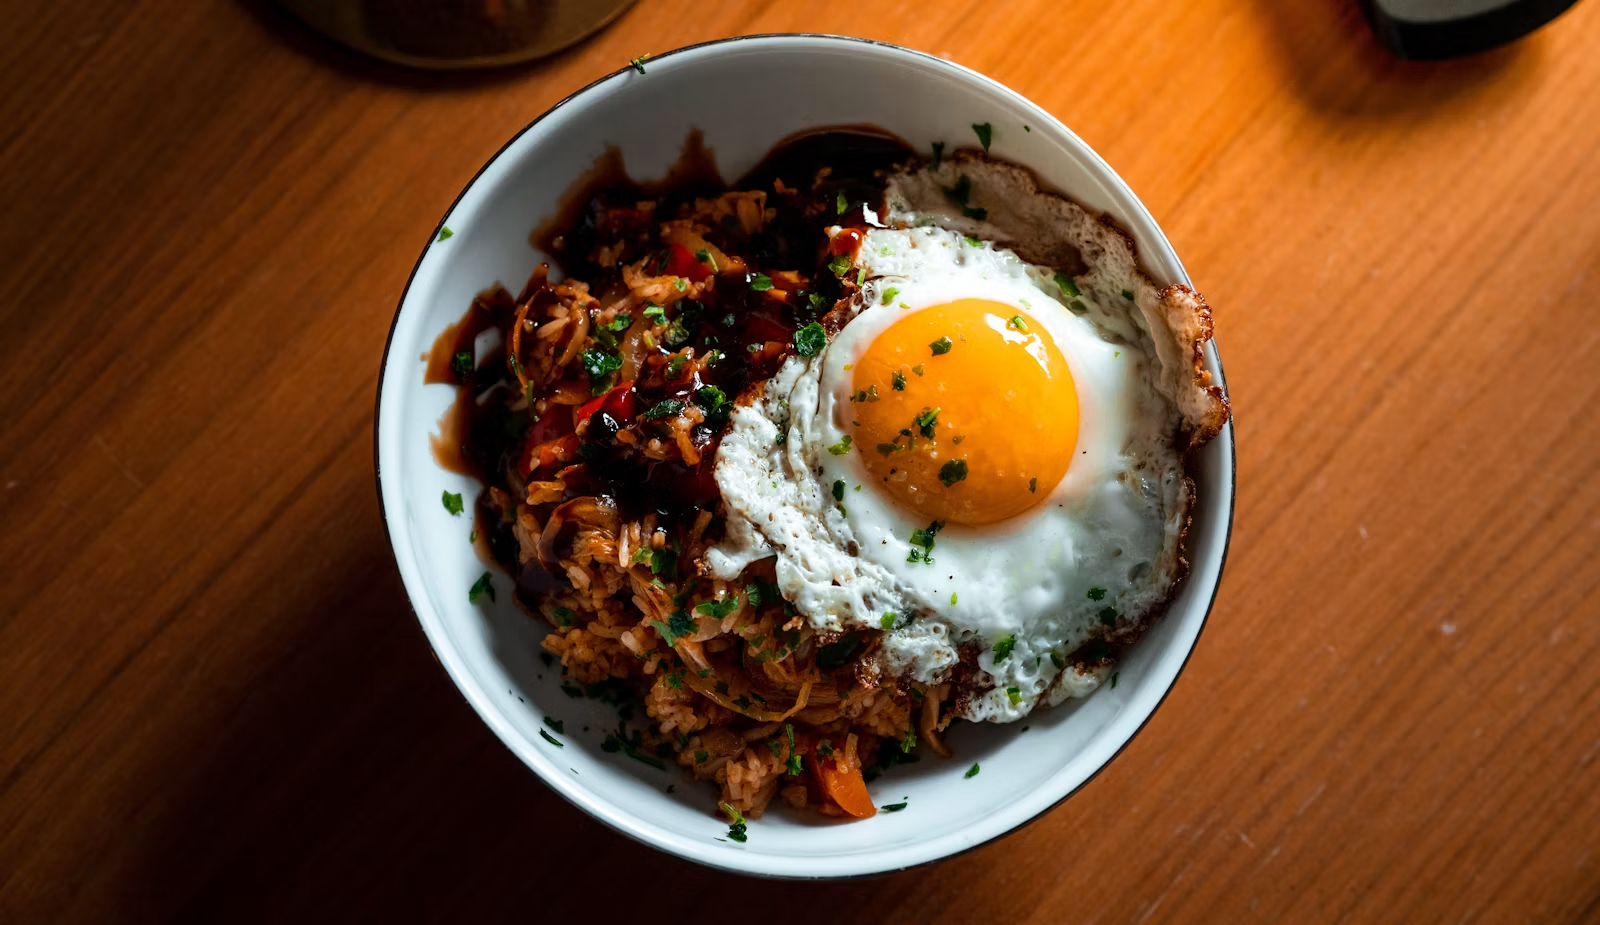
Kimchi fried rice is one of those dishes that turns a half-empty fridge into something genuinely satisfying, leftover rice, aging kimchi, and whatever protein you have on hand come together in one pan in under 15 minutes. This kimchi fried rice recipe leans on well-fermented kimchi for its signature tang, then balances it with a touch of sugar and sesame oil so the dish never tastes one-note.
It’s the kind of recipe that gets better the more well-aged your kimchi is.
What You’ll Find in This Kimchi Fried Rice Recipe
- Why Aged Kimchi Works Best
- Ingredients You’ll Need
- Step 1: Prep the Kimchi and Rice
- Step 2: Cook the Protein
- Step 3: Fry the Kimchi
- Step 4: Add the Rice
- Step 5: Finish and Serve
- Variations to Try
- Common Mistakes to Avoid
- Frequently Asked Questions
Why Aged Kimchi Works Best
Fresh kimchi is crisp and mild, but this kimchi fried rice recipe really depends on kimchi that’s had a few extra weeks to ferment. As kimchi ages, its flavor deepens into something sourer and more pungent, exactly the quality that gives fried rice its signature punch. If your kimchi is still fresh, a splash of extra vinegar can help mimic that depth.
Day-old, slightly dried-out rice also matters here, freshly cooked rice turns mushy in the pan instead of frying up with separate, slightly chewy grains.
Ingredients You’ll Need
- 2 cups day-old cooked rice
- 1 cup kimchi, chopped, plus 2 tablespoons of its juice
- 4 ounces (115g) spam, bacon, or diced pork belly (optional)
- 1/2 small onion, diced
- 2 green onions, sliced
- 1 tablespoon gochujang (optional, for extra heat)
- 1 teaspoon sugar
- 1 tablespoon soy sauce
- 1 tablespoon sesame oil
- 1 tablespoon neutral oil
- 1 fried egg per serving, for topping
- Sesame seeds, for garnish
The reserved kimchi juice is a small but important part of this kimchi fried rice recipe, it adds tang and color without making the rice soggy the way extra liquid kimchi chunks would.
Step 1: Prep the Kimchi and Rice
Chop the kimchi into bite-sized pieces and set the juice aside in a separate small bowl. Break up any clumps in the day-old rice with your fingers or a fork so it separates easily once it hits the pan.
Having everything prepped before the pan gets hot keeps this kimchi fried rice recipe moving quickly, since the whole cooking process takes only about 10 minutes.
Step 2: Cook the Protein
Heat the neutral oil in a large skillet or wok over medium-high heat. Add the spam, bacon, or pork belly and cook until lightly browned and crisp at the edges, about 3 to 4 minutes. Push it to one side of the pan.
Rendering some fat from the protein at this stage adds richness throughout the rest of the dish.
Step 3: Fry the Kimchi
Add the diced onion and chopped kimchi to the same pan, along with the sugar. Stir-fry for 2 to 3 minutes until the kimchi softens slightly and starts to caramelize a little at the edges. Stir in the gochujang here if using.
This step is where most of the flavor in this kimchi fried rice recipe actually develops, letting the kimchi sit in the hot pan undisturbed for a few seconds at a time encourages light charring.
Step 4: Add the Rice
Add the rice to the pan, breaking up any remaining clumps as you go. Pour in the reserved kimchi juice and soy sauce, then toss everything together until the rice is evenly coated and heated through, about 3 to 4 minutes.
Pressing the rice against the hot pan briefly before stirring again helps a few grains crisp up, a texture contrast that makes this kimchi fried rice recipe more interesting than a uniformly soft result.
Step 5: Finish and Serve
Remove the pan from the heat and stir in the sesame oil. Divide between bowls, top each with a fried egg, and finish with sliced green onion and a sprinkle of sesame seeds.
Serve immediately while the rice is still hot and the egg yolk is runny enough to stir through everything.
Variations to Try
- Cheese-topped: Sprinkle shredded mozzarella over the hot rice and let it melt slightly before serving.
- Tuna version: Stir in a drained can of tuna along with the kimchi for a budget-friendly, protein-rich twist.
- Vegetarian style: Skip the meat entirely and add extra vegetables like zucchini, mushrooms, or carrots.
- Extra spicy: Add a spoonful of Korean chili flakes (gochugaru) along with the gochujang for more heat.
This kimchi fried rice recipe is forgiving enough to handle almost any add-in you have on hand.
Common Mistakes to Avoid
- Using freshly cooked rice. Warm, freshly steamed rice clumps together and turns mushy instead of frying properly.
- Skipping the kimchi juice. That reserved liquid carries a lot of flavor, leaving it out makes the dish taste flatter.
- Overcrowding the pan. Frying in a pan that’s too small steams the rice instead of letting it fry, dulling the texture.
- Using kimchi that’s too fresh. Mild, unfermented kimchi won’t give this kimchi fried rice recipe the tangy depth it needs.
- Adding the egg too early. Topping the rice with the fried egg right before serving keeps the yolk runny instead of letting it overcook.
What to Serve With Kimchi Fried Rice
A simple side of pickled radish or a small bowl of seaweed soup rounds out the meal nicely. Since the rice itself is already fairly bold in flavor, lighter sides work better than anything overly rich or spicy.
Frequently Asked Questions
Can I use fresh kimchi instead of aged kimchi? Yes, though the flavor will be milder, adding a splash of rice vinegar can help approximate the tang that aged kimchi naturally provides.
Do I need day-old rice for this recipe? It’s strongly recommended, freshly cooked rice is too moist and tends to clump or turn mushy once it hits the hot pan.
Is this kimchi fried rice recipe very spicy? It’s mild on its own, the heat level depends mostly on how much gochujang or chili flakes you choose to add.
Can I make this vegetarian? Yes, simply omit the meat and add extra vegetables, the dish still gets plenty of flavor from the kimchi and sesame oil.
Final Thoughts
This kimchi fried rice recipe turns a few simple pantry staples into a meal that’s ready faster than most delivery orders, and it only gets better as your kimchi ages in the fridge. Keep a jar of well-fermented kimchi on hand and you’re never more than 15 minutes from dinner.
Top it with a fried egg every time, it genuinely makes the whole dish better.