Most kimchi jjigae recipe guides skip the part that actually matters. They give you the ingredient list and the cooking steps, but they don’t tell you why the stew you make at home tastes flat compared to what you had at a Korean restaurant. Honestly, I spent almost a year making mediocre kimchi jjigae before I figured out what was missing — and it wasn’t the recipe. It was four things the recipe never mentioned.
This kimchi jjigae recipe is built around those four things. Get them right and the stew comes out with the deep, funky sourness and rich pork flavor that makes it one of Korea’s great comfort dishes. Skip them and you’ll have a fine soup that tastes like warm kimchi. Not the same.
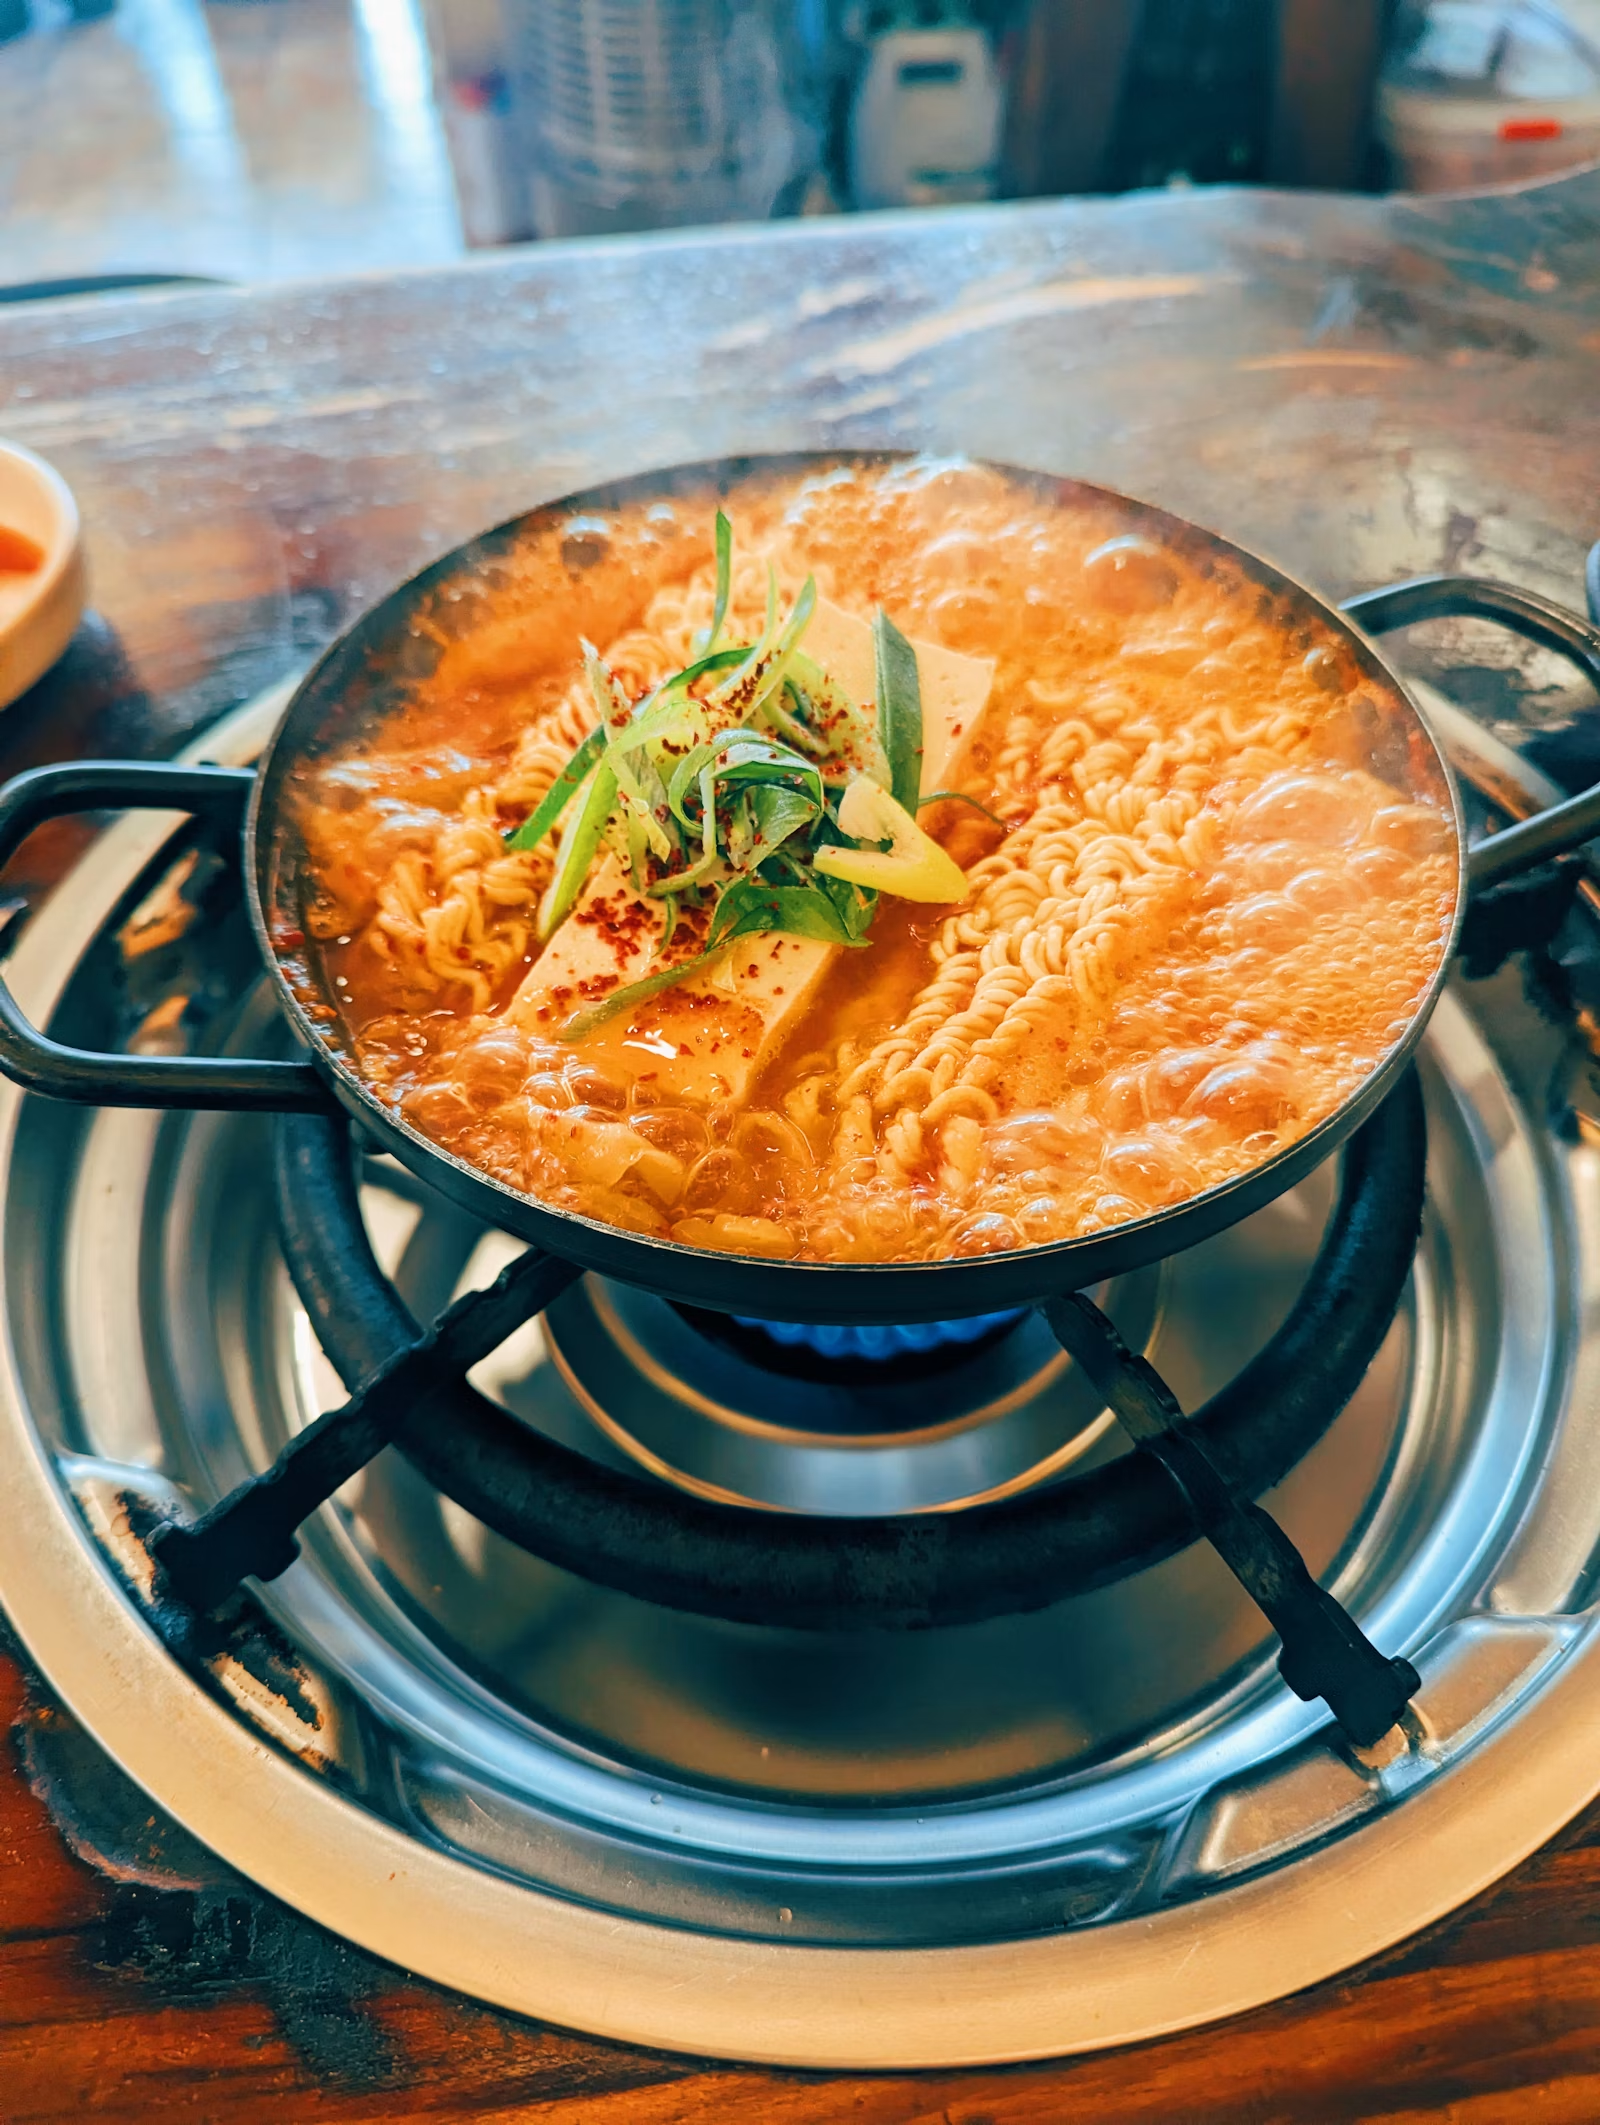
What You Need
The ingredient list for a solid kimchi jjigae recipe is short. What matters is the quality and condition of the kimchi — everything else is secondary.
For 2 servings:
- 200g well-fermented kimchi (at least 2–3 weeks old, ideally older — see Tip 1)
- 3 tablespoons kimchi brine from the jar
- 150g pork belly or pork shoulder, sliced into bite-sized pieces
- 200g firm tofu, cut into 2cm cubes
- 1 cup water or anchovy-kelp broth
- 1 tablespoon gochugaru (optional, for extra heat)
- 1 tablespoon soy sauce
- 1 teaspoon sesame oil
- 1 teaspoon sugar
- 2 green onions, sliced
No gochujang in this version — the kimchi does that work. Gochujang can make the broth thicker and slightly sweet in a way that competes with the sourness of old kimchi rather than complementing it.
Tip 1: The Kimchi Must Be Old
The single biggest variable in any kimchi jjigae recipe is the age of the kimchi. Fresh kimchi — the kind you’d eat as a side dish — is crisp, mildly spicy, and barely sour. When it cooks, it produces a broth that tastes one-dimensional. You need kimchi that has been fermenting long enough to develop real acidity: the kind that’s starting to smell aggressively sour, that’s going slightly soft, that your household has been avoiding as a side dish because it’s “too strong.”
That kimchi is perfect for jjigae. The first time I ate kimchi jjigae that actually stopped a conversation was at a small restaurant near Gwangjang Market in Seoul. The broth had a deep, almost wine-like sourness I couldn’t replicate at home until I started using kimchi that had been sitting in my fridge for two months. Older is better. If your kimchi is less than two weeks old, wait, or buy a different jar specifically for cooking.
Tip 2: Fry the Kimchi and Pork First — Don’t Just Simmer
Most basic kimchi jjigae recipe instructions say: put everything in a pot, add water, boil. That’s how you get flat broth. The step that builds depth is frying the pork and kimchi together in a dry pot before any liquid goes in.
Heat a medium pot over medium-high heat. Add the pork directly — no oil, because the pork will render its own fat within 2 minutes. Once you can see fat pooling in the pan, add the kimchi and the kimchi brine. Stir and cook for 3 to 4 minutes, letting the kimchi caramelize slightly at the edges and the pork pick up some color. The kitchen will start smelling intensely of roasted chili and pork. That’s exactly what you want. This frying step builds the flavor foundation that simmering alone can’t create.
Tip 3: Add the Tofu Late
Once the kimchi and pork are fried, pour in the water or broth and bring to a boil. Add the soy sauce, gochugaru if using, and sugar. Simmer for 10 minutes — this is when the pork finishes cooking through and the broth draws in the deeper notes from the kimchi.
The tofu goes in during the final 5 minutes only. This is a small thing that most kimchi jjigae recipe instructions get wrong by adding the tofu at the start. Early tofu gets rubbery and absorbs so much of the spice that it tastes sharp rather than creamy. Late tofu stays smooth and mild, providing a contrast to the sour, spicy broth instead of blending into it. Add it gently, stir as little as possible, and let it warm through without breaking apart.
Finish with green onions and a drizzle of sesame oil, cut the heat, and serve immediately.
Tip 4: Don’t Use Lean Pork
I know it sounds counterintuitive, but lean pork — tenderloin, lean loin chops — is the wrong cut for this kimchi jjigae recipe. The fat from pork belly or shoulder is not incidental. It renders into the broth during the frying step and creates the richness that makes kimchi jjigae feel filling rather than just sour and spicy. Without fat in the broth, the dish feels thin even when the flavor is strong.
Pork belly is the traditional choice and the one most Korean home cooks use. If you find it too rich, pork shoulder has a similar fat content with slightly leaner meat throughout — a good middle ground. Whatever you use, don’t trim the fat before cooking.
Putting It All Together
The full sequence of this kimchi jjigae recipe takes about 25 minutes: 5 minutes for the frying step, 10 minutes of simmering, 5 minutes with the tofu, and a few minutes to finish. Serve directly from the pot into individual bowls, with a bowl of plain white rice on the side. The rice is not optional — you’ll need it to balance the intensity of the stew.
Leftovers keep well and the flavor deepens overnight. Some people argue day-two kimchi jjigae is better than the fresh version, and I’m not going to argue with that.
Two Questions Worth Answering
Can I make this with canned kimchi or store-bought fresh kimchi? You can, but the result will be noticeably milder. Store-bought fresh kimchi is optimized for eating as a side dish, not cooking — it hasn’t developed the lactic acidity that gives a good kimchi jjigae recipe its characteristic sourness. If that’s all you have, add an extra tablespoon of kimchi brine and a small splash of rice vinegar to compensate. It won’t be the same, but it gets closer.
What if I don’t eat pork? Tuna is the standard substitute in Korean households — canned tuna in oil, drained and added at the same stage as the pork. It sounds odd if you’ve never tried it, but tuna jjigae has its own cult following in Korea and it’s genuinely good. The broth comes out slightly lighter but still savory. Skip the sesame oil finish if using tuna; it’s not needed.
The Thing Nobody Tells You
No kimchi jjigae recipe will save you if the kimchi isn’t right. That’s the honest version of this dish — the cook’s skill is in recognizing which kimchi is ready for jjigae and which isn’t, not in any complicated technique. Once the kimchi is old enough, the cooking almost takes care of itself.
Start there. The rest follows.